Installation and Configuration of Web Center Sites 12
Installation and Configuration of Web Center Sites 12
Introduction
In this tutorial, we will follow step by step the installation of oracle web center sites 12.0. In order to achieve our purpose, we are going to pass by the installation of java 8, Oracle Express Edition, Oracle Fusion Middleware 12c infrastructure and then sites itself. We will attach in every step with screenshots.
Java Installation
After downloading java 8 from this URL JDK 8 Install (the version must be 8 in order to be able to install oracle web center sites 12.0).
Launch the downloaded software:
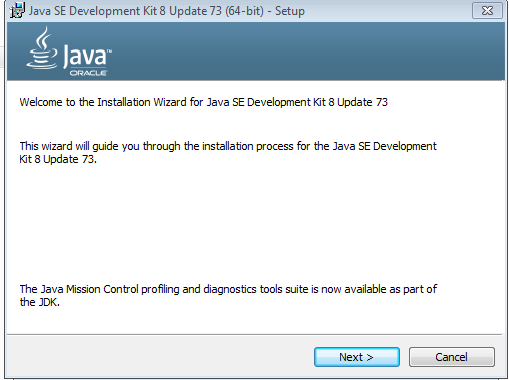
Click on next. In the obtained screen click on Change to set the directory where the jdk will be installed.
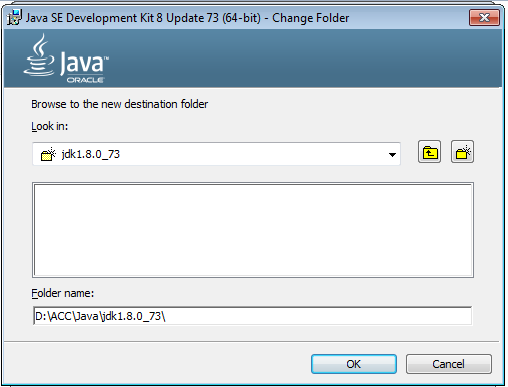
In our case it is recommended to set the location under the following path:
D:\ACC\Java\jdk1.8.0_73
Click OK to confirm the changes and then next. After the JDK will be installed, the launcher will ask you where to install JRE. In our case, it is recommended to set the path as the following “D:\ACC\Java\jre1.8.0_73”. After the installation process will finish, click on Close.
Oracle XE Installation:
In this section, we will install the Oracle Express Edition Installation After unzipping OracleXE112_Win64.zip. Navigate under the disk1 folder and execute the Setup.exe.

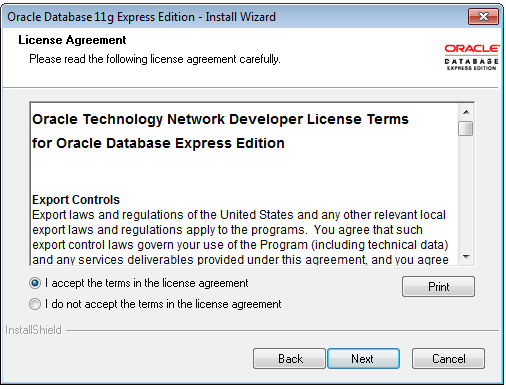
Click on next. In the new interface accept the license of agreement and click on next.
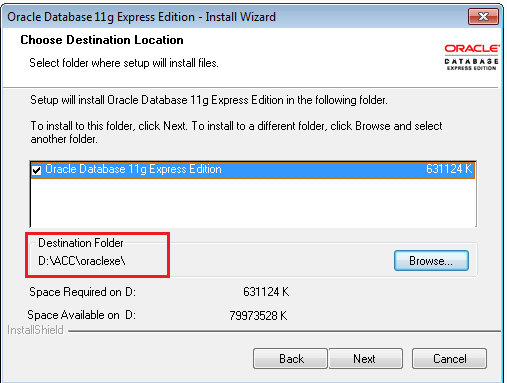
After Accepting the agreement, Set the destination folder to “D:\ACC\oraclexe” and click then on next.
In the obtained window, set the password to “admin”.
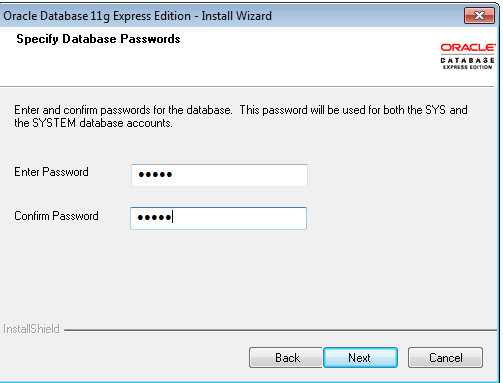
Click then on Next and install. After the installation process terminate Click on finish. After Installing java and oracle XE, create a file named envDev.bat under ”D:\ACC\bin”, in which, add the following lines
@ECHO off
SET WKDIR=D:\ACC
SET JAVA_HOME=%WKDIR%\Java\jdk1.8.0_73
SET JAVA_OPTS=-Xms1024m -Xmx1024m -XX:MaxPermSize=512m
SET JAVA_ARGS=-Duser.country=US -Duser.language=en
SET ORACLE_HOME=%WKDIR%\oraclexe\app\oracle\product\11.2.0\server
TITLE [%JAVA_HOME%]
cd %WKDIR%
D:
SET PATH=%WKDIR%\bin;%JAVA_HOME%\bin;%PATH%;
After the creation of the bat file, create a shortcut that points to the envDev.bat and set its target to C:\Windows\System32\cmd.exe /k D:\ACC\bin\envDev.cmd
Installation of Oracle Weblogic Server:
In this chapter, we will introduce the steps that should be followed to install web logic server. Run the newly shortcut in administrator mode and navigate to the folder holding the jar of the weblogic‘s infrastructure file (it is named fmw_12.2.1.0.0_infrastructure.jar) and execute the following command
Java –jar fmw_12.2.1.0.0_infrastructure.jar
In the opened widow click on next.
To skip the auto update click on next. Enter the Oracle Home path and set it as follow - D:\ACC\Oracle\Middleware\Oracle_Home Click on next, in the new interface make sure that Fusion Middleware infrastructure is checked. Then click on next.
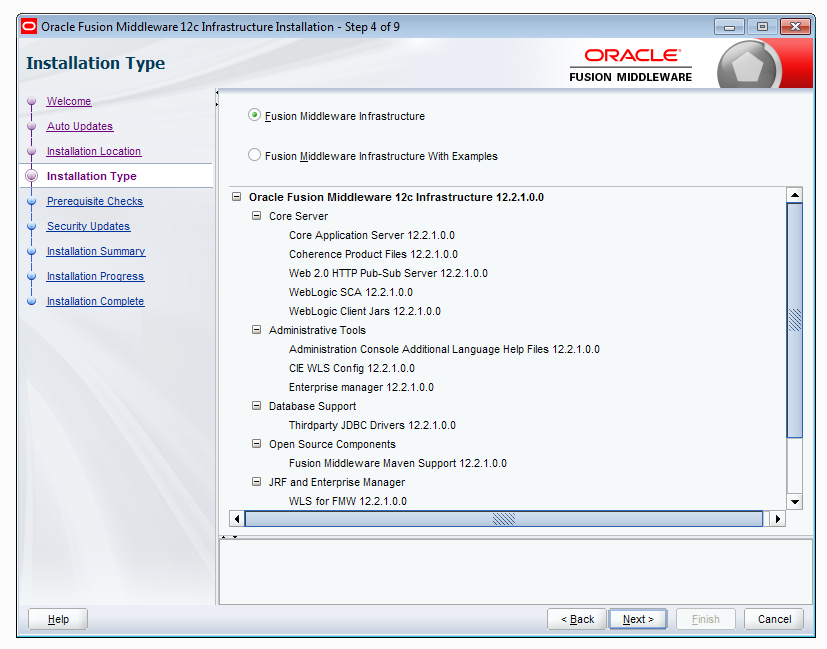
After the verification of java and windows certification click on next.
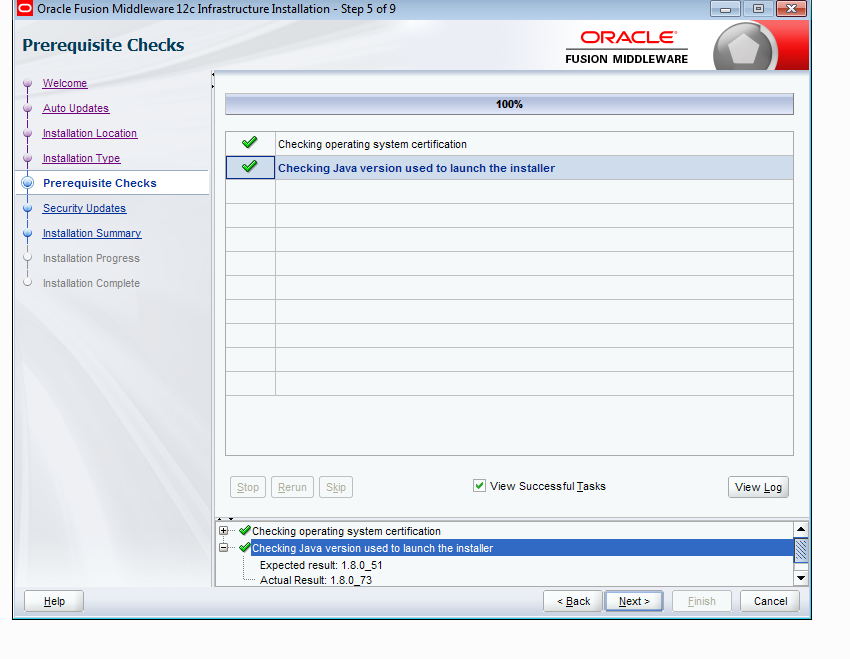
Click next twice and then click on install button in order to launch the install process. If everything went ok(which it should be ) you will get everything checked.
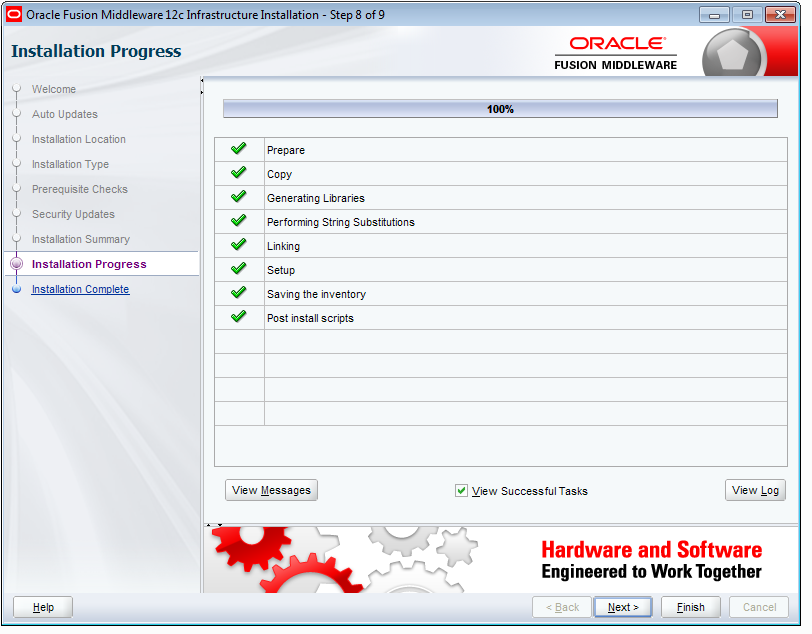
Click on next in order to see more details about the installation’s result. Then click on Finish. After the installation of Weblogic, please make sure to add the following line to our envDev file
SET WL_HOME=%WKDIR%\Oracle\Middleware\Oracle_Home\wlserver.
WebCenter Sites Installation:
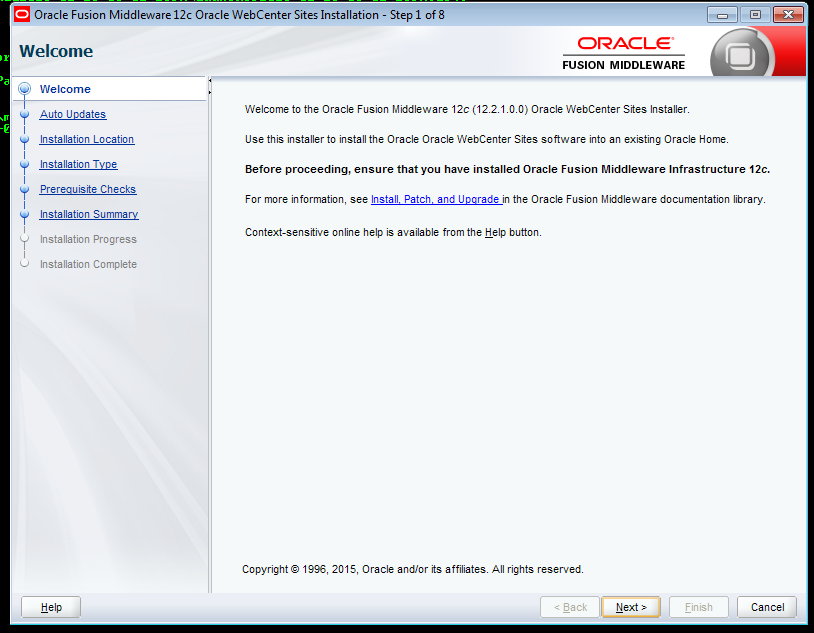
In this part of the documentation, we will present the steps in order to install webcenter sites Run the shortcut in administrator mode and navigate to the folder holding the jar of the webcenter‘s infrastructure file (it is named fmw_12.2.1.0.0_wcsites_generic.jar) and execute the following command:
Java –jar fmw_12.2.1.0.0_wcsites_generic.jar
In the opened window click on next.
.png)
In order to skip the auto update click on next.

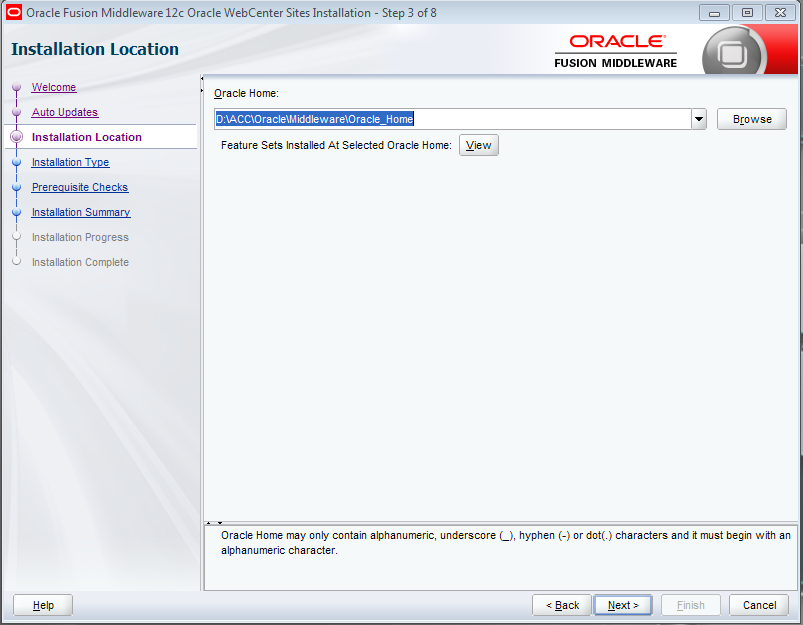
In the new window set the oracle home path, as the same path that we have already set in the installation process of weblogic server (D:\ACC\Oracle\Middleware\Oracle_Home). Normally you can select from the list.
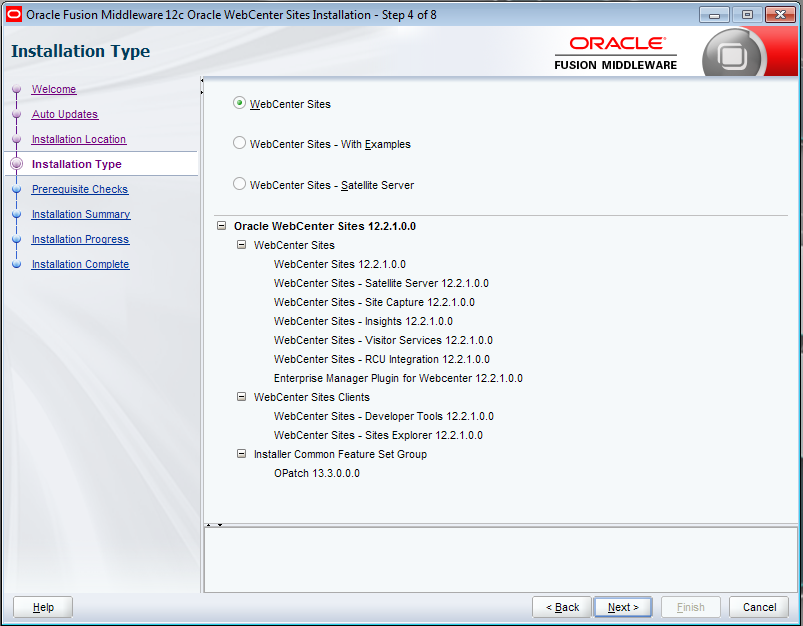
In the installation type window, make sure that only WebCenter sites is checked (the first).
Click next to verify the java and windows certification. After that click on next twice and then install to launch the installation process.
After the success of the installation click on finish.
RCU Utility:
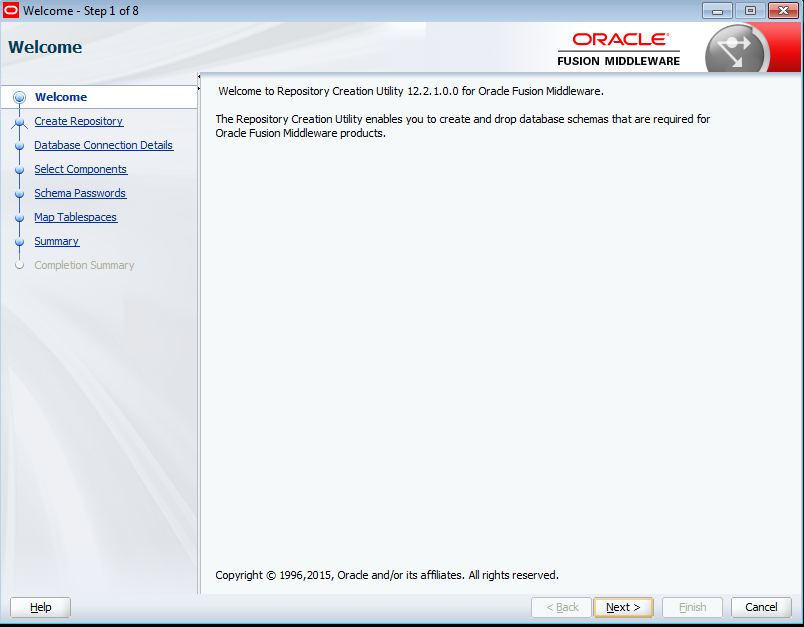
In order to connect WebCenter Sites to the oracle Express Edition we will launch the rcu. Run the shortcut to the envDev in the administrator mode, and then navigate to the following path: D:\ACC\Oracle\Middleware\Oracle_Home\oracle_common\bin (in case you have changed the oracle_home variable, you will find this file under your_oracle_home\oracle_common\bin.). In the opened window click on next.
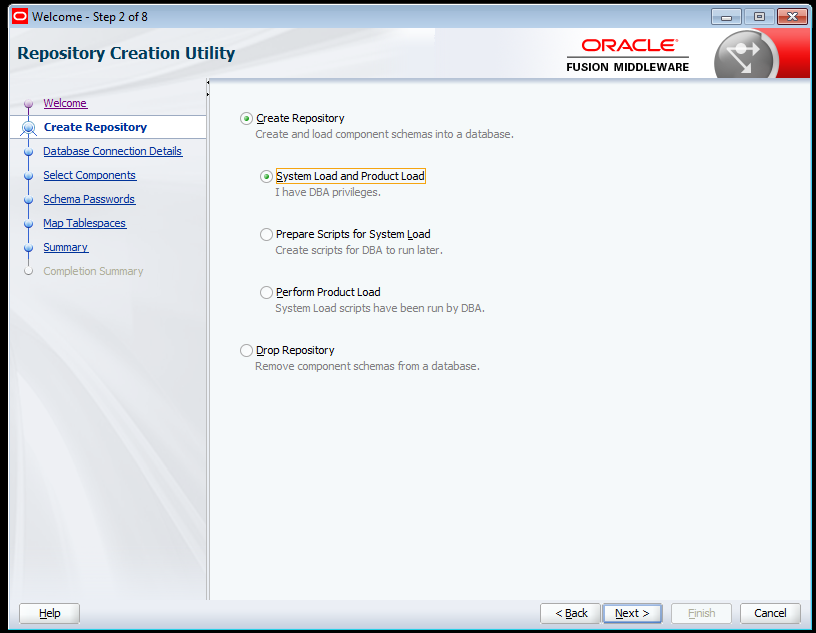
In the create Repository tab make sure that “Create Repository” and “System Load and Product” options. Click on next.
In the new widow fill the fields as it shows the screenshot below. (The password should be admin as it was configured in the oracle express edition section).
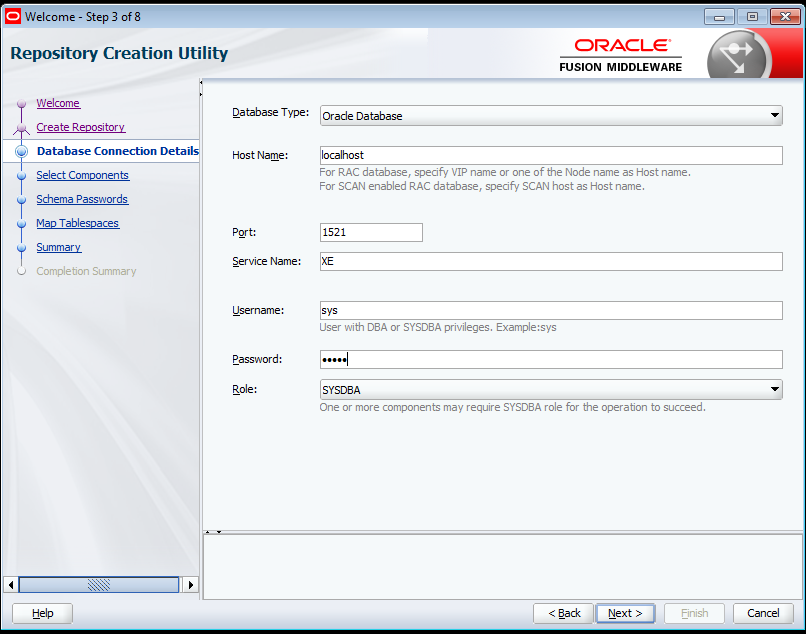
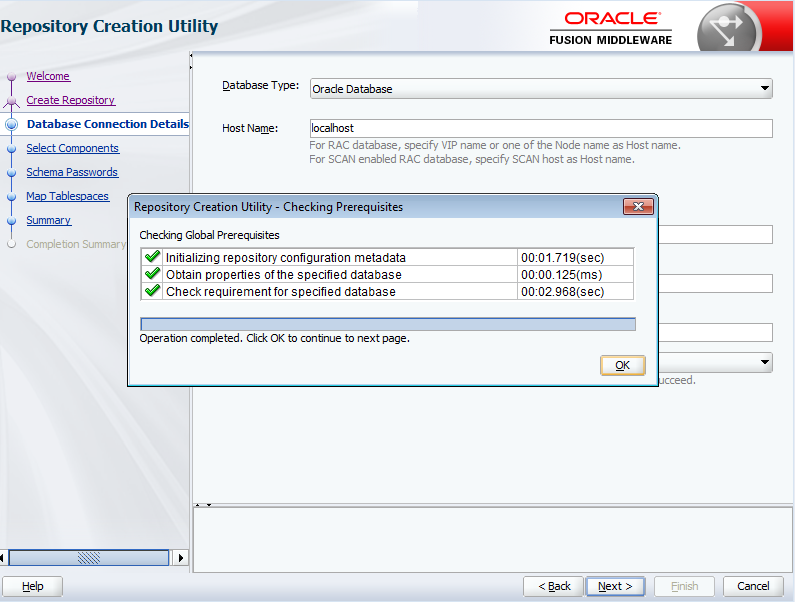
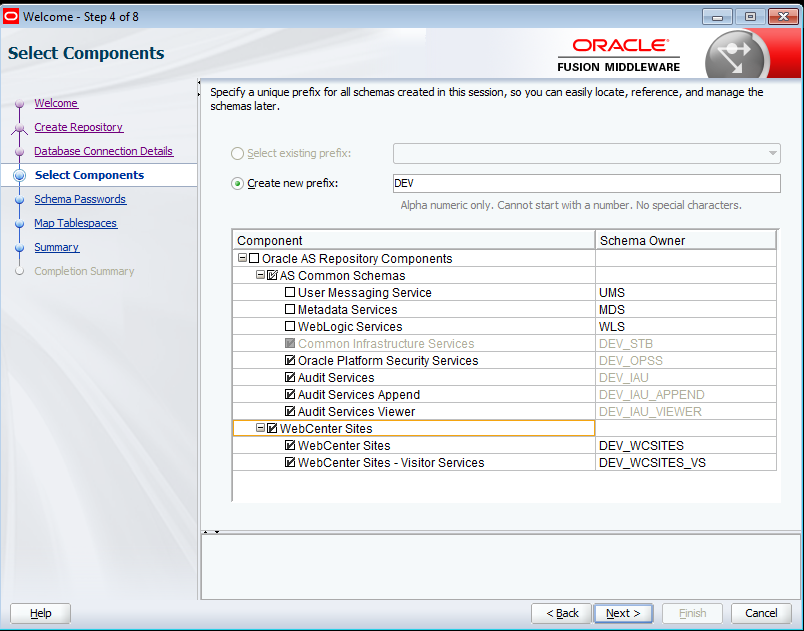
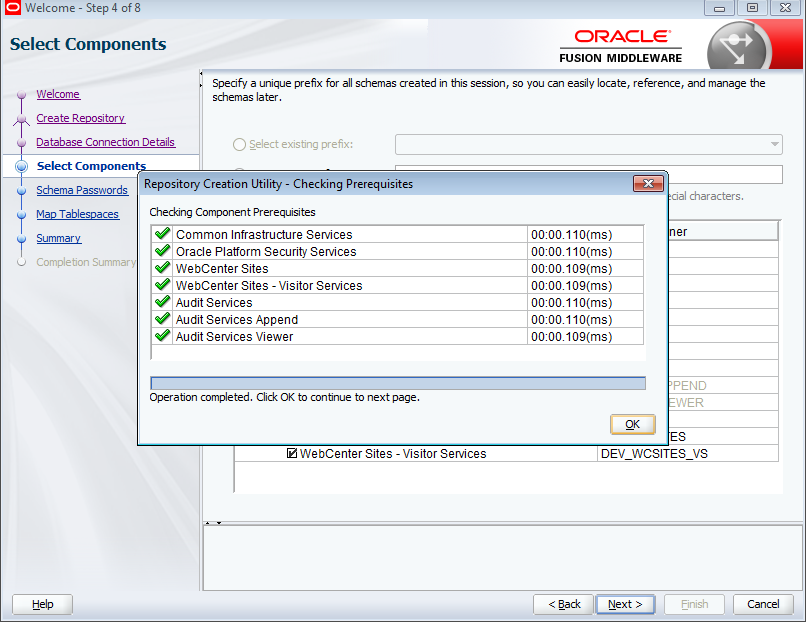
Click on next. If you are using XE, it will give you a certification warning. Click ignore and move to the select components. In the new window, choose the prefix that you want to use and make sure, and check oracle platform Security services and WebCenter sites.
If everything is ok just click on OK.
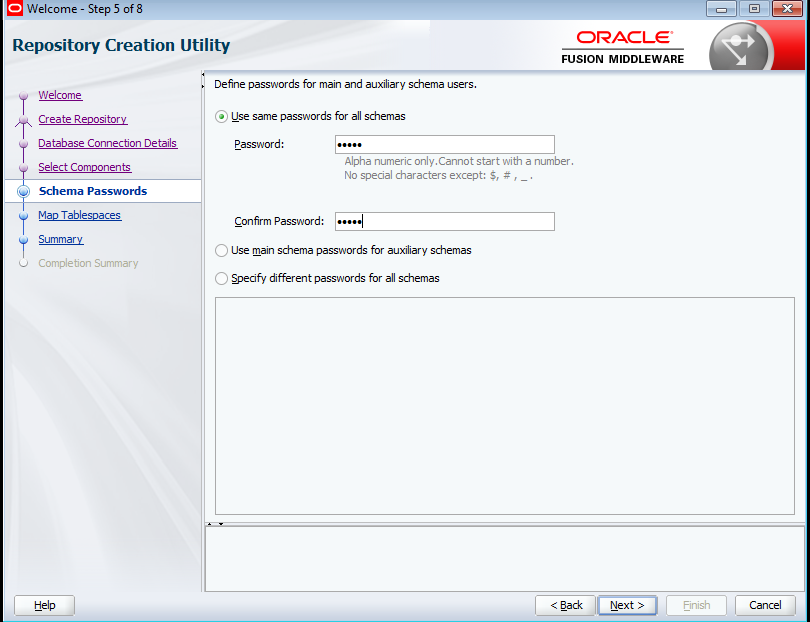
In the obtained new window, fill and confirm the dbuser/schema password for the new Sites user then click next (in our case we have chosen: admin).
In confirm Map Tablespaces window, make any modification you want then click on next, after that, click on ok to confirm the Repository Creation and move to summary tab.
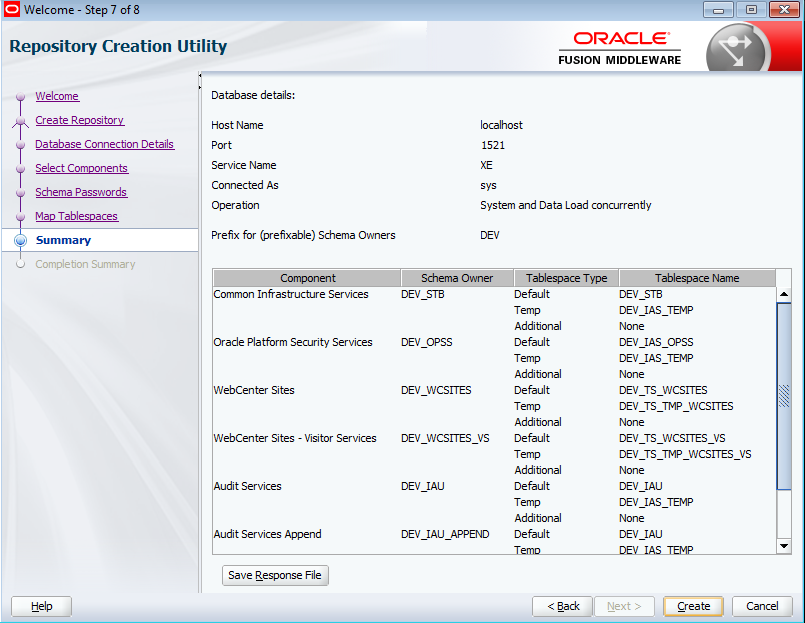
Click on Create.
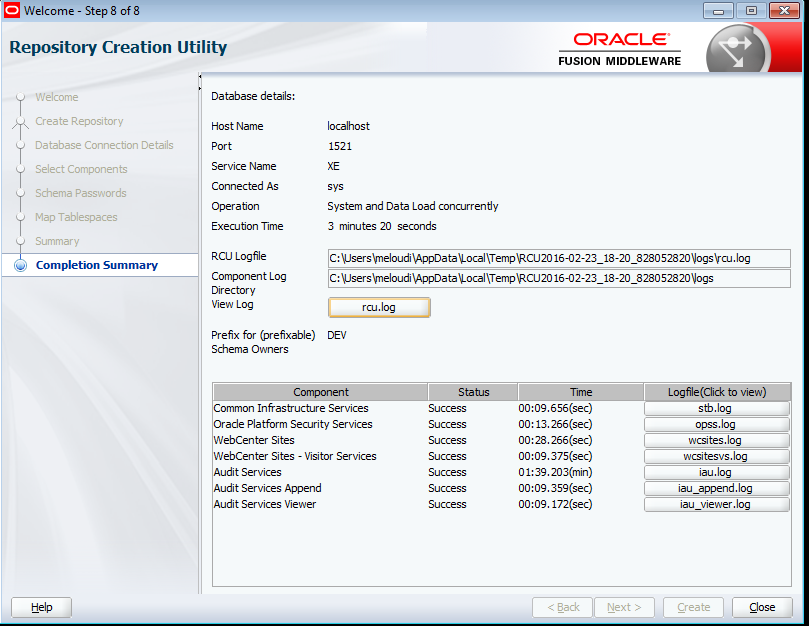
After the creation process ends, click on Close button.
Create New Domain:
In this chapter we will create a new domain in weblogic. Run the shortcuts to the envDev.bat and navigate to oracle_home/oracle_common/common/bin (in our case it is D:\ACC\Oracle\Middleware\Oracle_Home\oracle_common\common\bin). Run the configuration.cmd script.
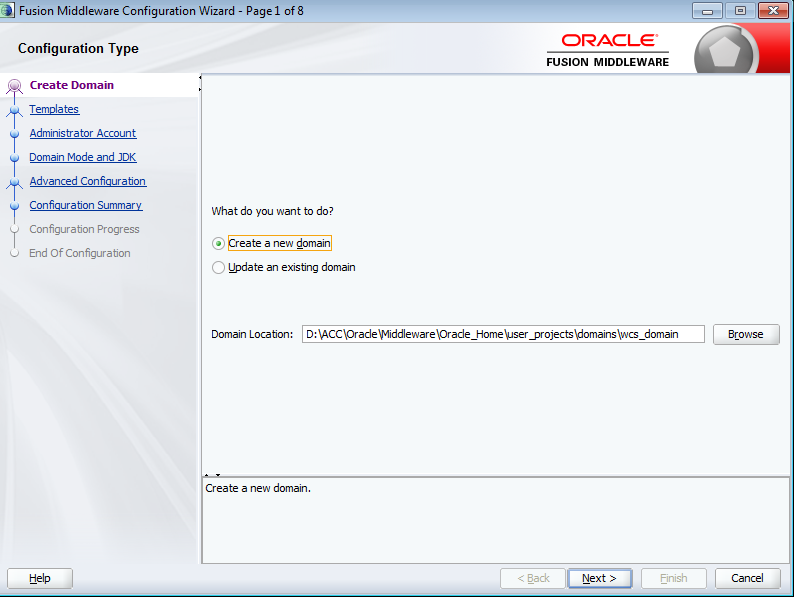
In the first obtained window, select the “create new domain” option and set your domain’s name and location. In our case we named the domain (wcs_domain and it is under D:\ACC\Oracle\Middleware\Oracle_Home\user_projects\domains folder). After that click on next.
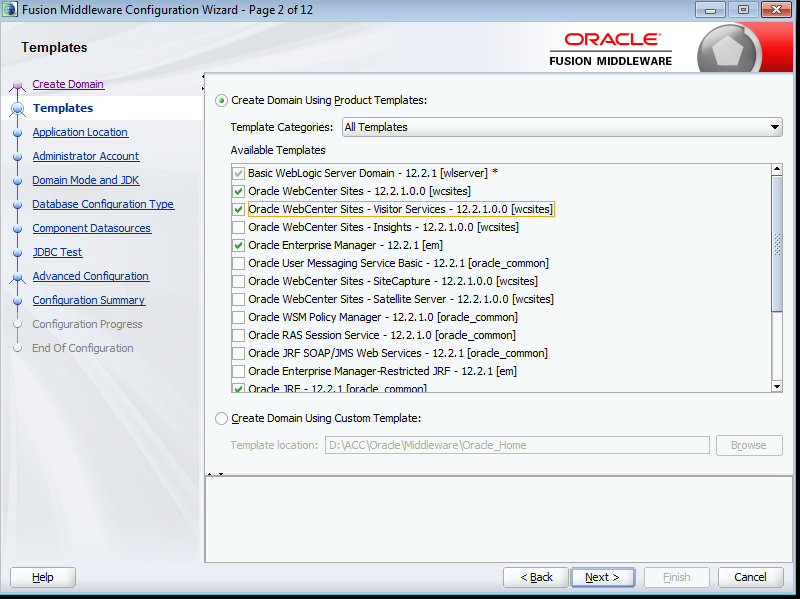
In the template tab, we will choose Oracle WebCenter Sites, Visitor Services and Oracle Enterprise manager and Oracle JRF. And then, click on next.
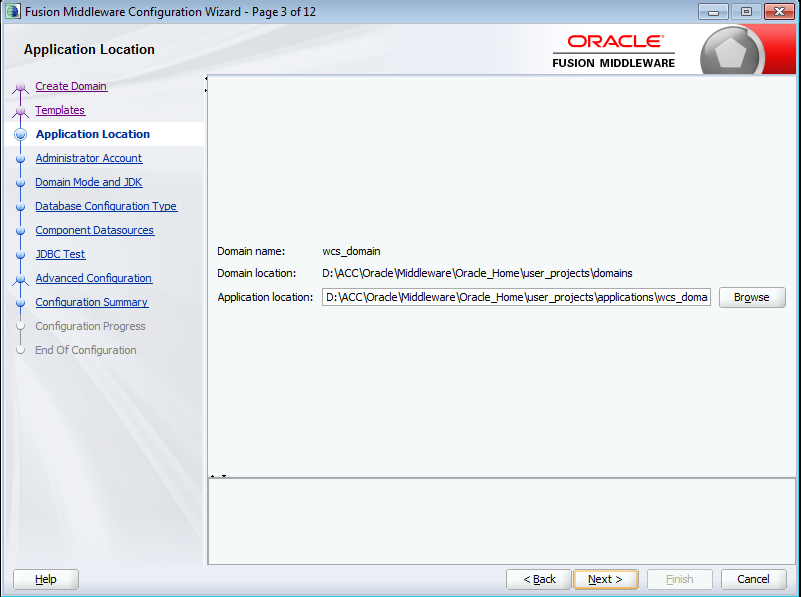
In the application location, specify the where the application should get installed. We leave it by default in our case. Click, then, on next to move to set the Administrator Account configuration.
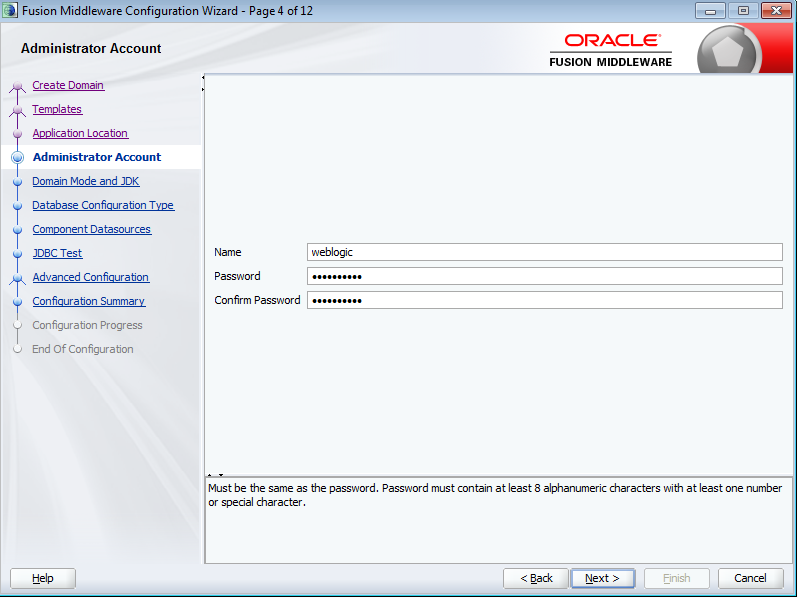
In the obtained window, set the name of the administrator (In our case we opted Name: weblogic Password: Welcome01!) Click on next twice (oracle will select the jdk found in the path).
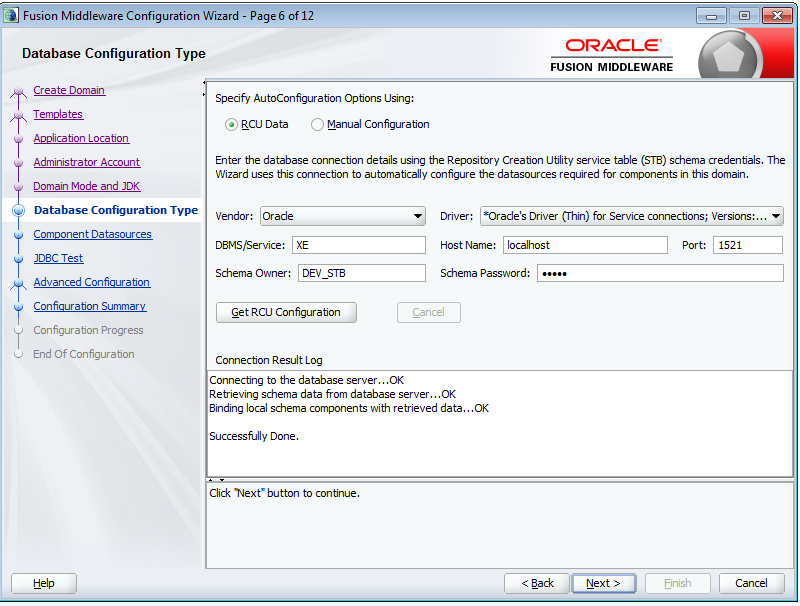
In the database configuration, fill the fields as it is shown in the screenshot above. (the password in our case is admin). And then click on “Get RCU Configuration). If everything went ok click on next button to set the component DataSource.
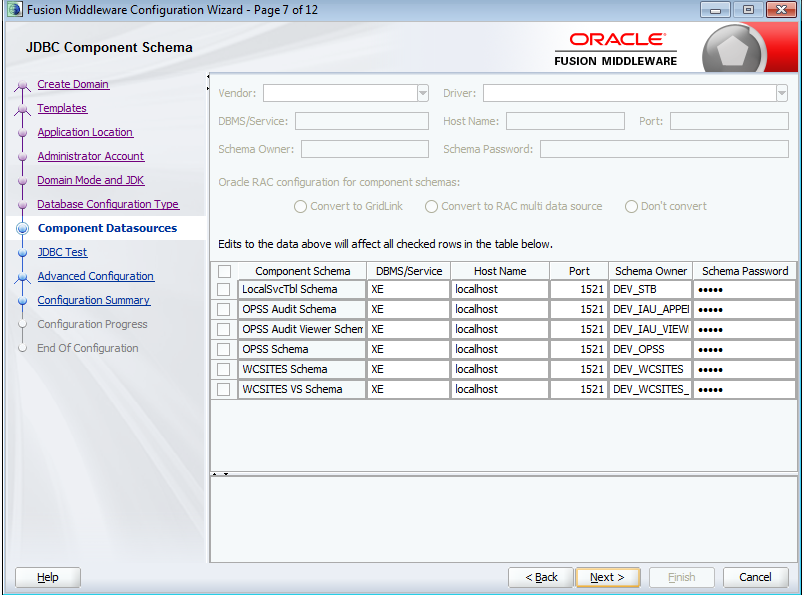
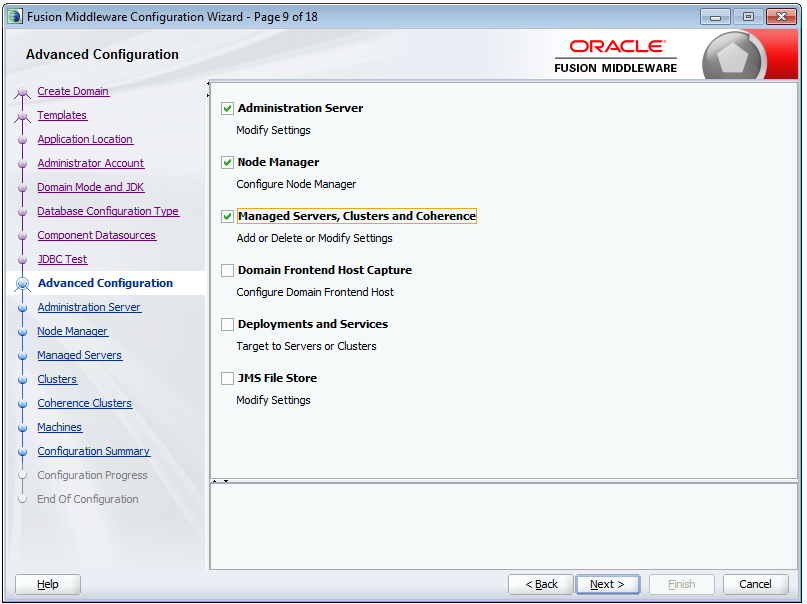
Just click on next. Assuming everything is well, click on next. In the new window select the Administration Server, Node Manager and the Managed Servers Clusters and Coherences.
Click next.
Make any change that you want to apply and then click on next.
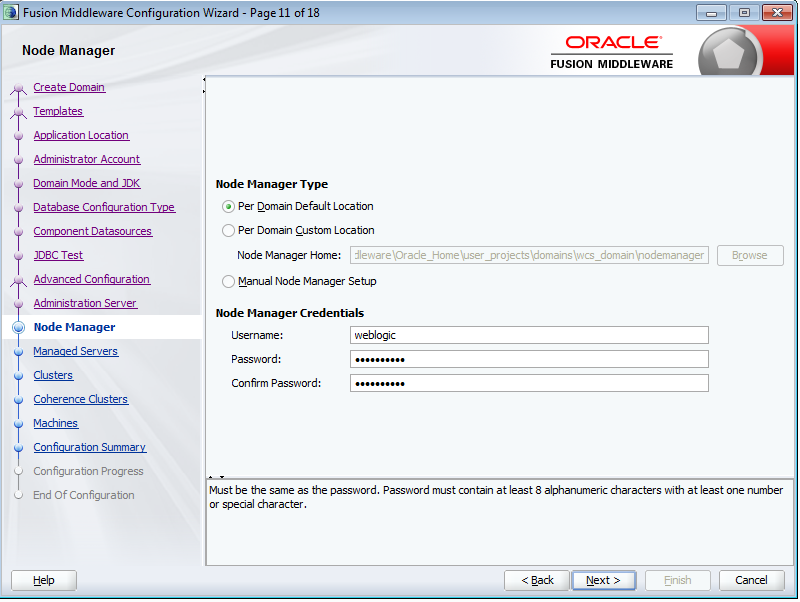
Set the password and the username (in our case the username: weblogic and the passowd: Welcome01!).
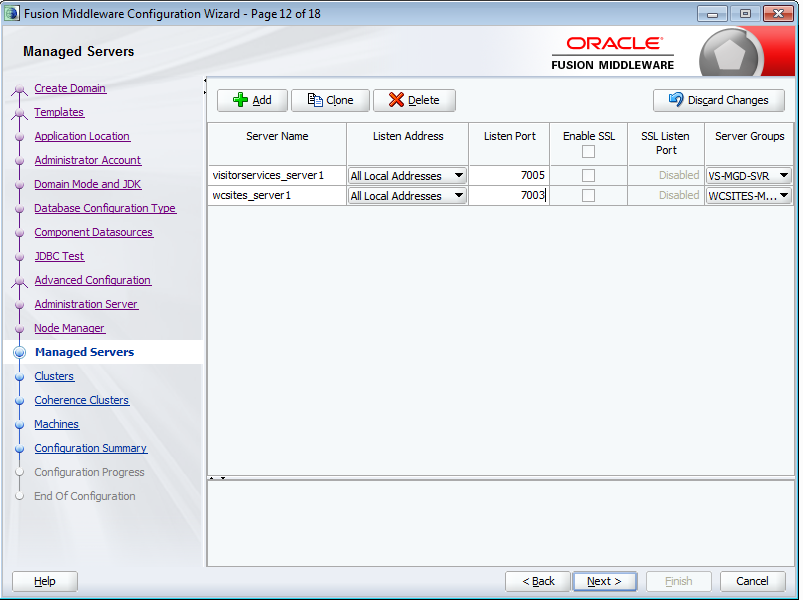
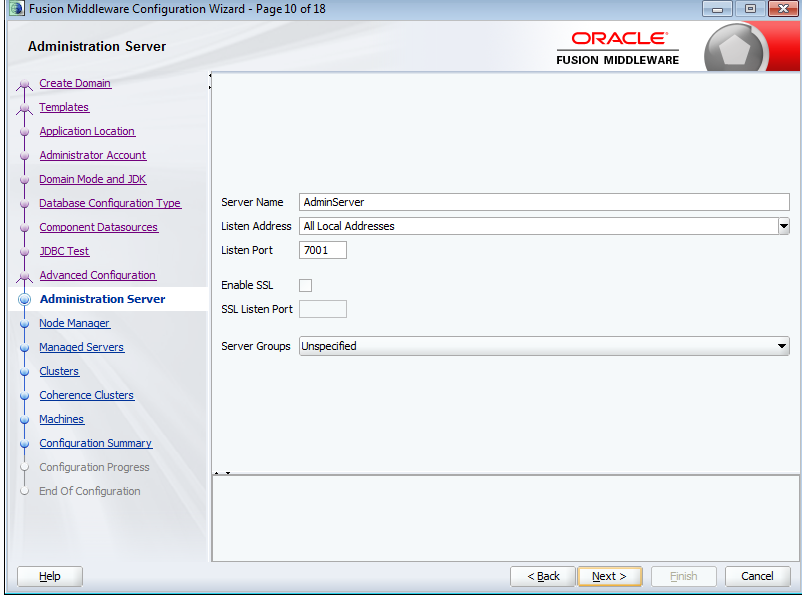
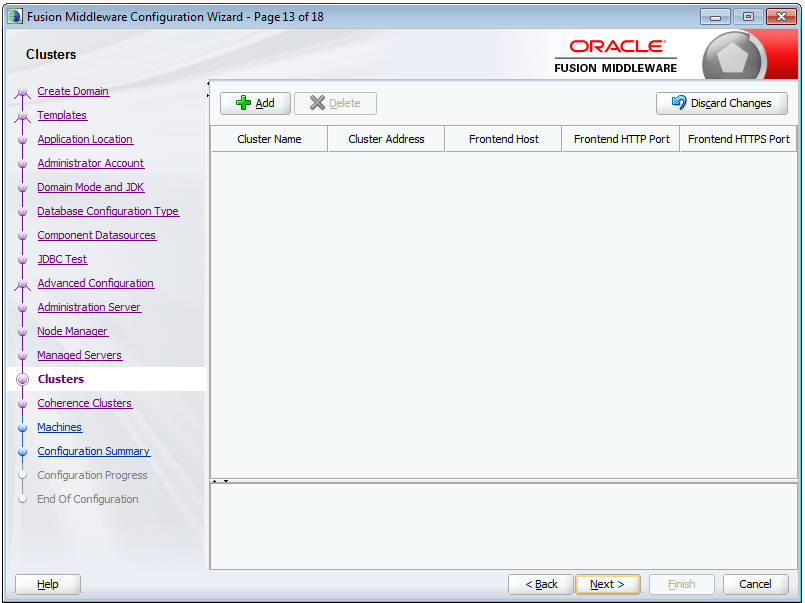
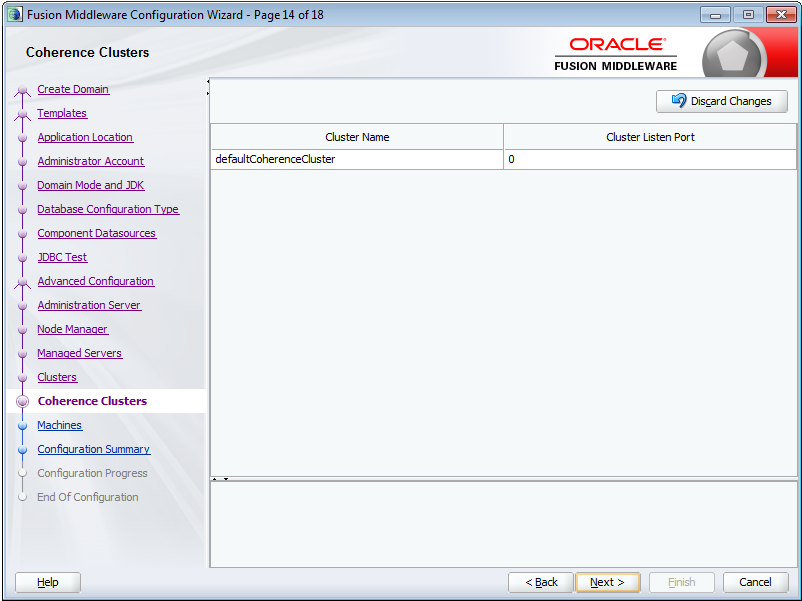
Set the Server names and the listen ports then click on next three times until we get the machine’s window.
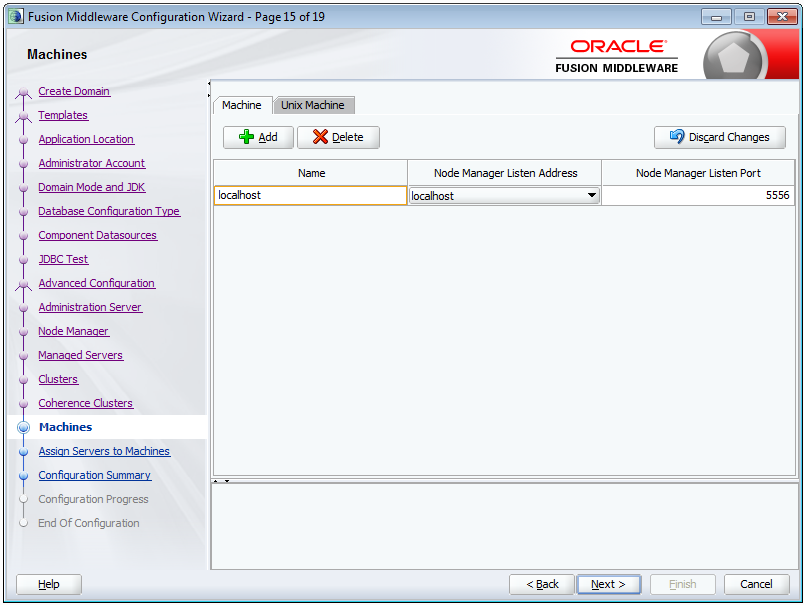
Add your machines and (in our case it is just the localhost). And then click on next.
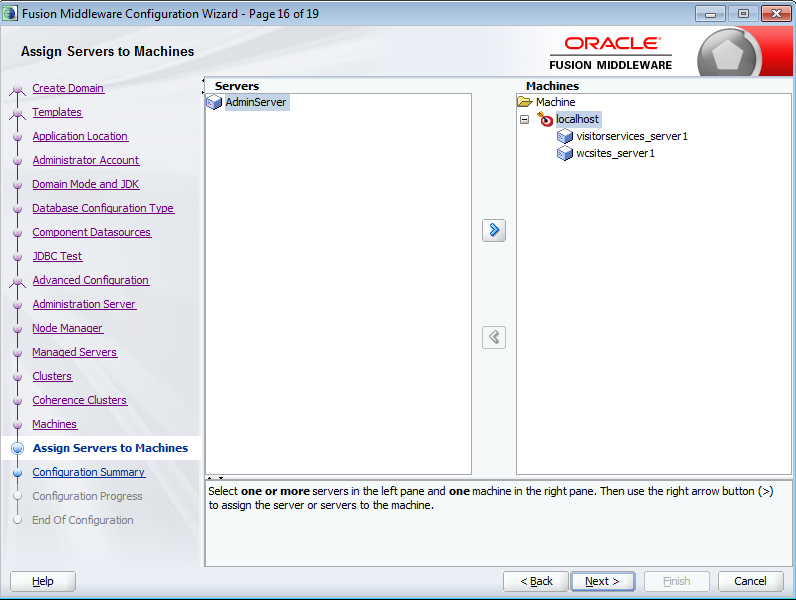
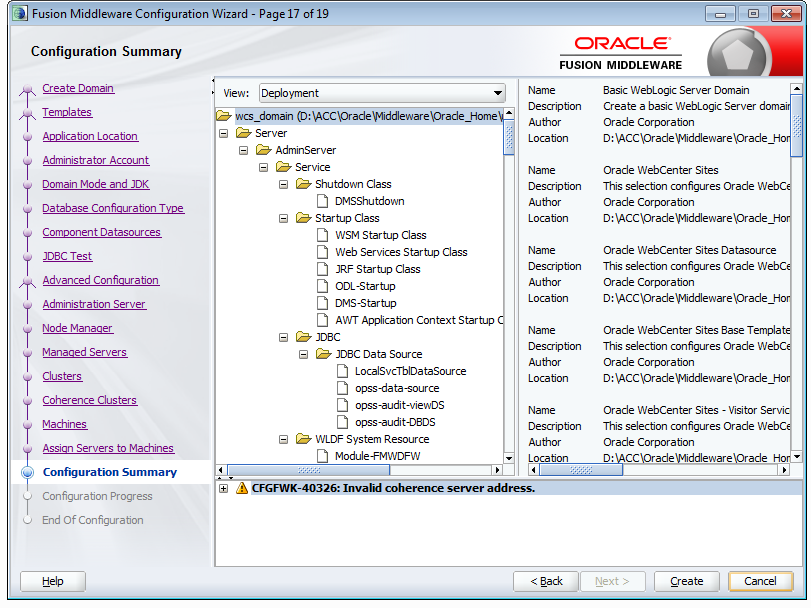
Select visitorservices_server1 and wcsites_server1 servers and assign them to the localhost machine. Then, click on next then create.

WebCenter Sites Configuration:
The last steps is to run and then configure the WebCenter Sites in order to manage sites and attributes.
- Launch the admin server (by running the shortcut of devEnv file and navigate to the location of your domain and run the startWebLogic.cmd).
- In the same way launch the node manager by running the startNodeManager script which is located under the path of domain’s location/bin.
- In the same way run the grant-opss-permission which is located under your domain location/wcsites/bin/ grant-opss-permission.
- Under D:/ACC make a directory Shared.
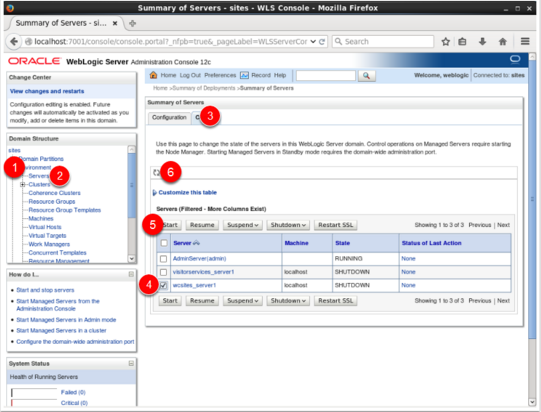
- Enter the interface Admin in the web browser (by typing the following url : localhost:7001/console).
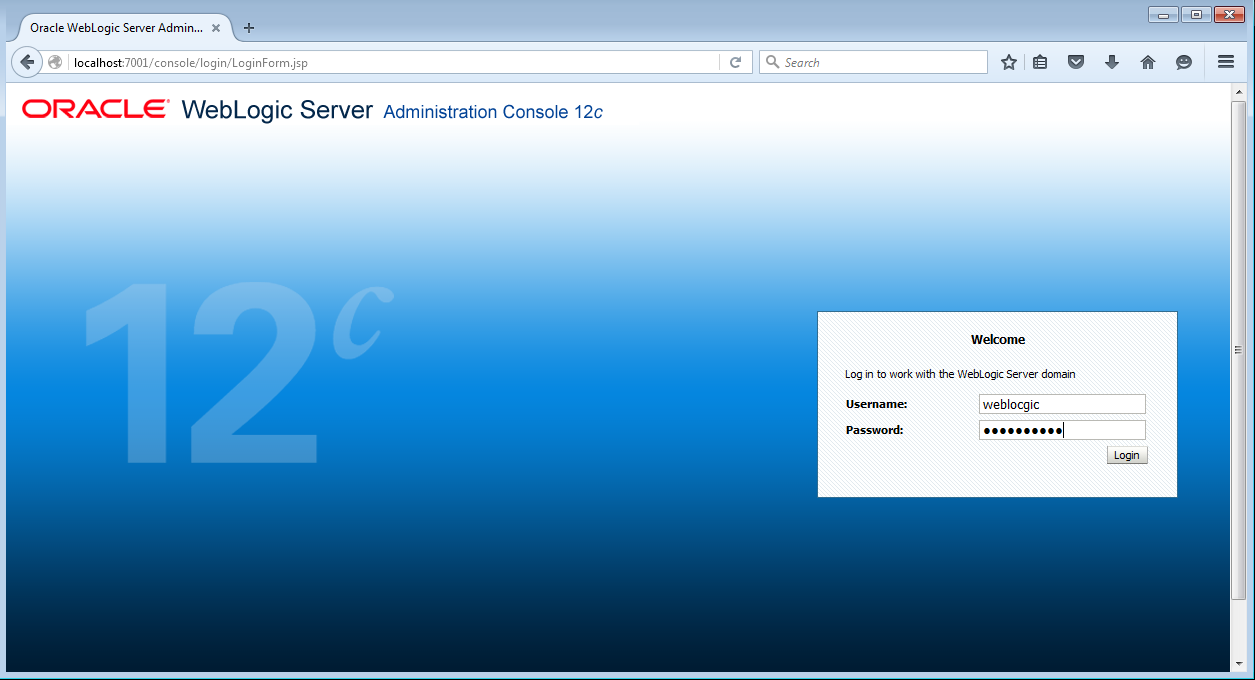
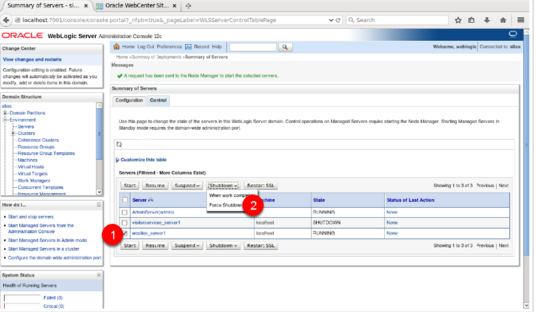
- After the login process, expand the Environment option and click on the server. Select the Control tab. Choose the the wcsites_server1 and start it.
- Open a new tab in the browser and enter to the url:localhost:7003/sites/sitesconfigsetp.
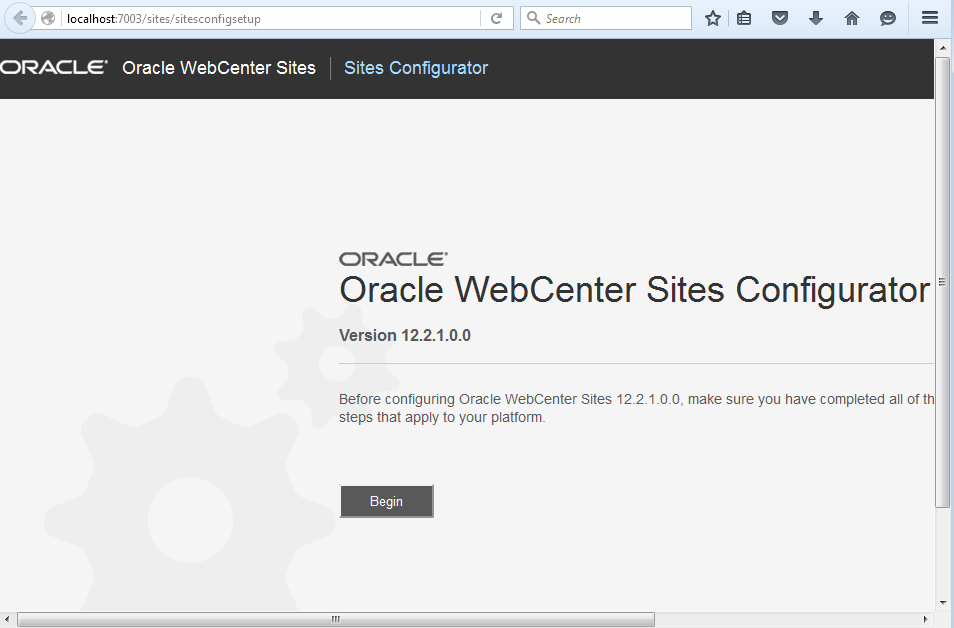
Click on begin.
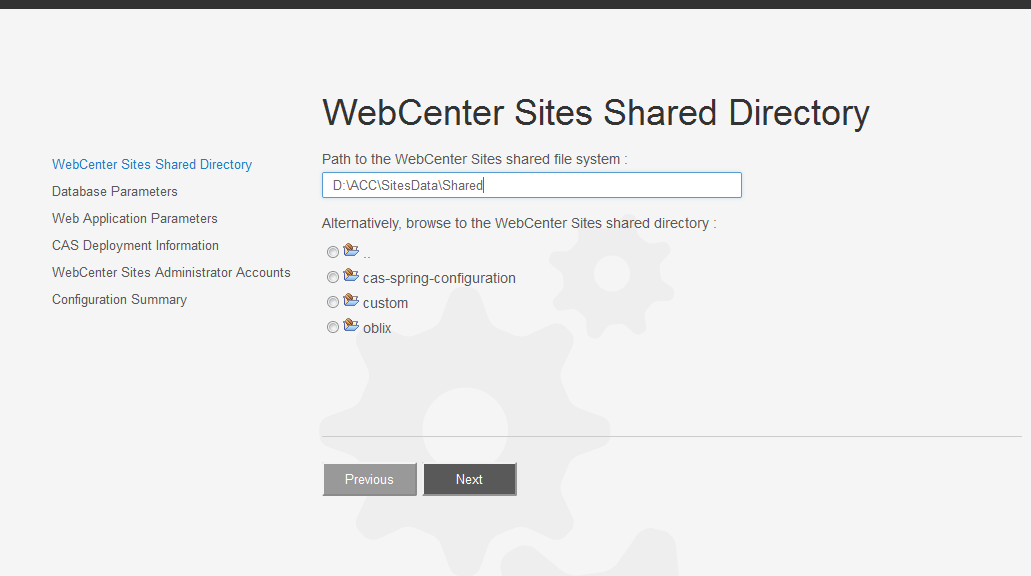
- Specify the Shared directory where the wcsites insert its data. (in our case it is D:\ACC\SitesData\Shared) .After that, click on next.
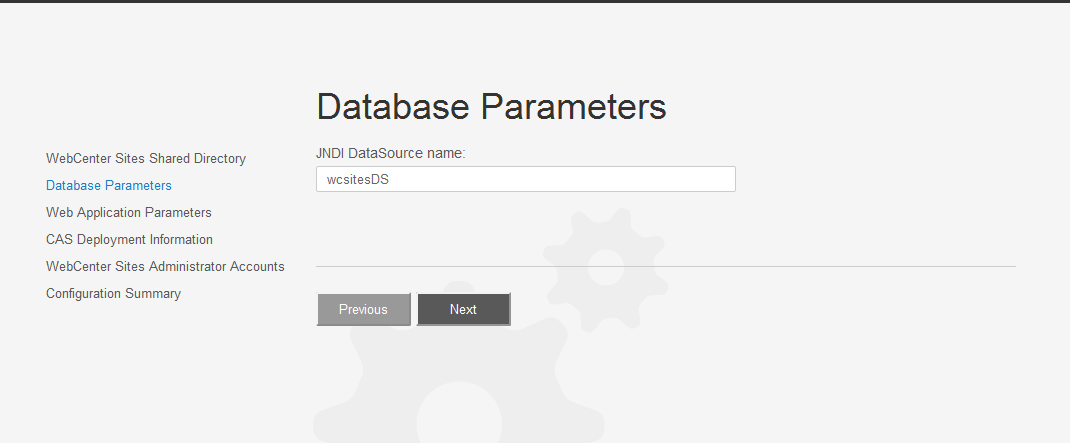
- In the next step, specify the JNDI Name. Normally it will be set by default.
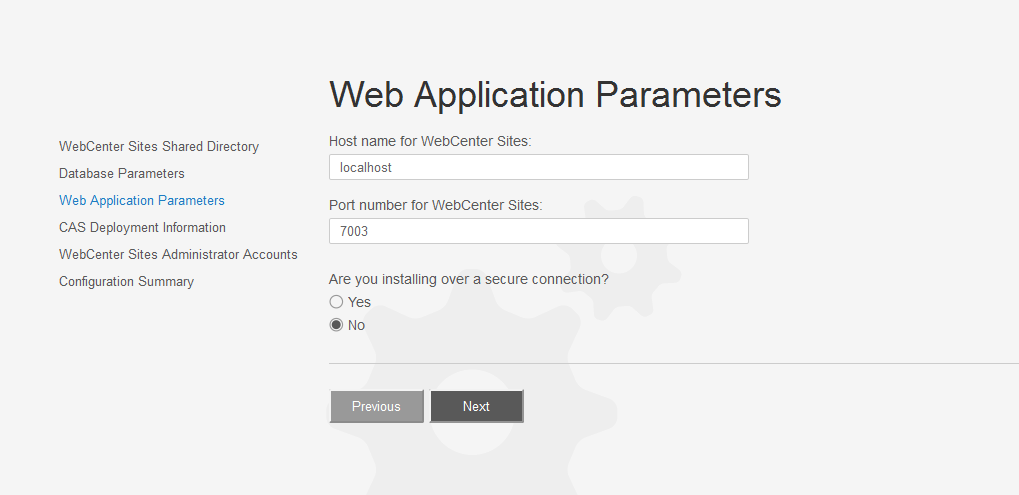
- In the Web Application Parameters, specify the hostname and the port in case you have web server in front. Just leave it as it is.
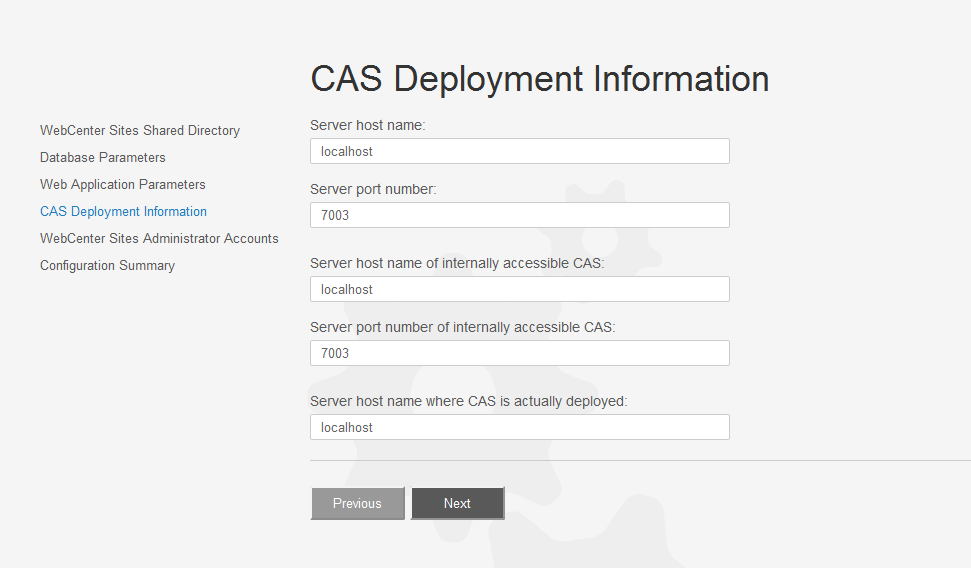
- In CAS Deployment Information, specify the servers’ hostnames and the port’s numbers.
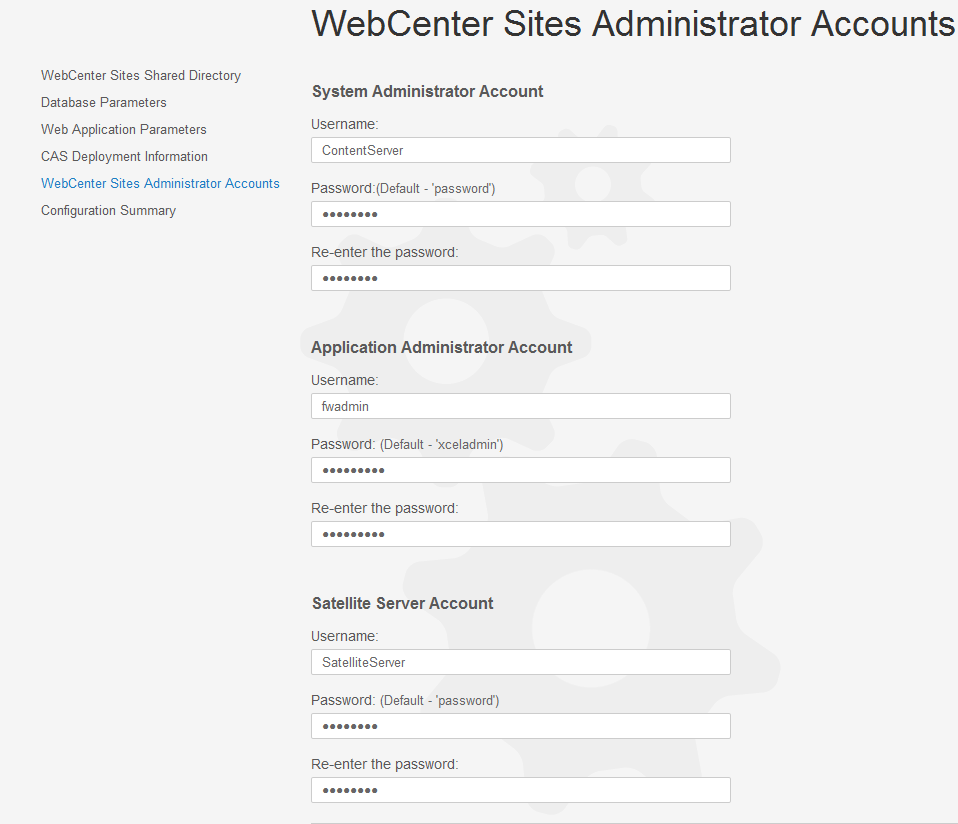
- Click on next in order to go the WebCenter Sites Administrator Accounts. Fill the username and password fields or you can just leave the default values.
- In the Configuration summary, Click on test and if everything is ok, click on start.
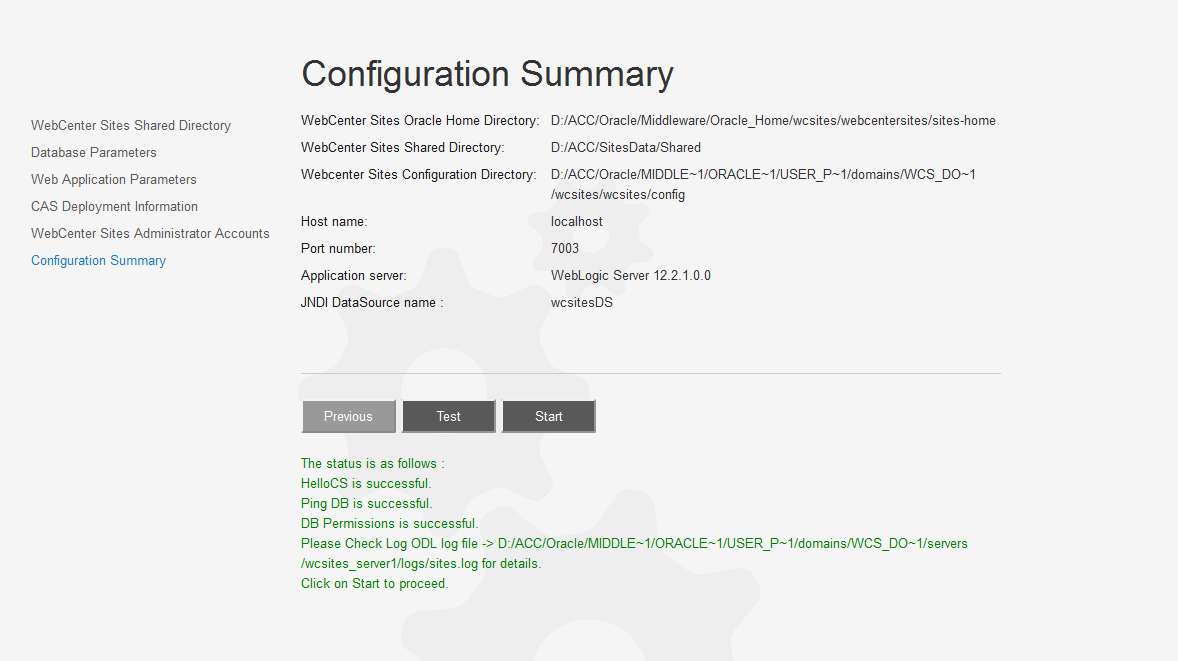
- Wait until the configuration finish, if everything went well, you will get something like in the screen shot above.

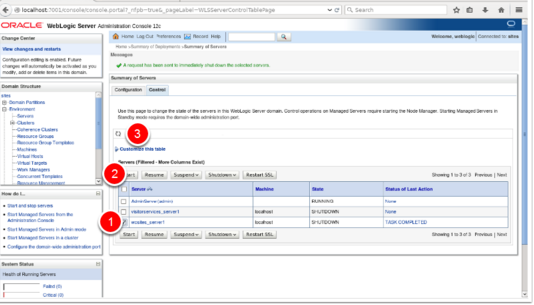
- After the sites configuration complete, shutdown the sites managed server and start it back up.
- After Achieving the steps above, you can login to Oracle WebCenter Sites by typing the following url: http:/ localhost:7003/sites.
Category: Technology & Innovation
0 Comments